Monday 28 November 2011

Christmas has arrived!


28 November - this is the day that Christmas begins! Yes, it's true. Across Europe, the Christmas markets opened their wooden shutters today. So, having one of the best Christmas markets on my doorstep, I thought it only right to toddle into town, have a mosey round and get in the festive spirit with some vin chaud. I also took the opportunity to take a few snaps to use in my home made Christmas cards and tags. Here are my favourites:

Strasbourg Cathedral

Nutcracker soldiers
Baubles
Get your mulled wine here!
Lovely fruity soaps

Wednesday 23 November 2011

Expat Christmas Mincemeat

Living in Alsace, France, right on the border with Germany I am lucky that I can buy my food from either country. I love the selection of foods in the supermarkets in both countries, but it's only when you try to make something on the lead up to Christmas, like mince pies, that you realise just how British they are.

Firstly, you need a jar of mincemeat. Hmmm, nowhere to be found. Then you need some large round cutters to cut out the pastry. Strangely, I couldn't find them in France or Germany - only very small circles or bigger star shaped ones. I solved that problem by ordering some off Amazon UK. So, for the mincemeat issue, the only thing to do was to make my own. I decided to follow the Delia recipe. So far so good. Alas, there is no suet (animal or vegetarian) available in France or Germany and also no Bramley apples! I would not let this beat me. I adapted the list of ingredients to what I had available to me as an expat and below is my Christmas Mincemeat recipe.

I cycled across the Rhine to Edeka supermarket to buy all my ingredients.

Ingredients
  • 1 large Belle de Boskoop apple, cored and chopped up small (sharper than most eating apples and closest to a Bramley)
  • 110g of butter
  • 175g Brauner Zucker (soft brown sugar doesn't seem to exist, only expensive muscavado, which you can use if you want to)
  • Grated zest and juice of one orange and one lemon
  • 125g Rum Rosinen (rum soaked raisins)
  • 100g Sultaninen (sultanas)
  • 100g Korinthen (currants)
  • 50g Aprikosen (dried apricots - chopped up small)
  • 50g Cranberries (chopped)
  • 100g Orangeat gewuerfelt (chopped candied peel)
  • 25g Mandeln blanchiert, gestiftelt (slivered almonds)
  • 2 level teaspoons of Lebkuchen Gewuerz (closest thing to allspice I could find. Apparently it does exist and is called Nelkenpfeffer)
  • 1/4 teaspoon of ground cinnamon
  • Generous grating of nutmeg
  • 3 tablespoons of brandy (I chose Mariacron Weinbrand)

Equipment

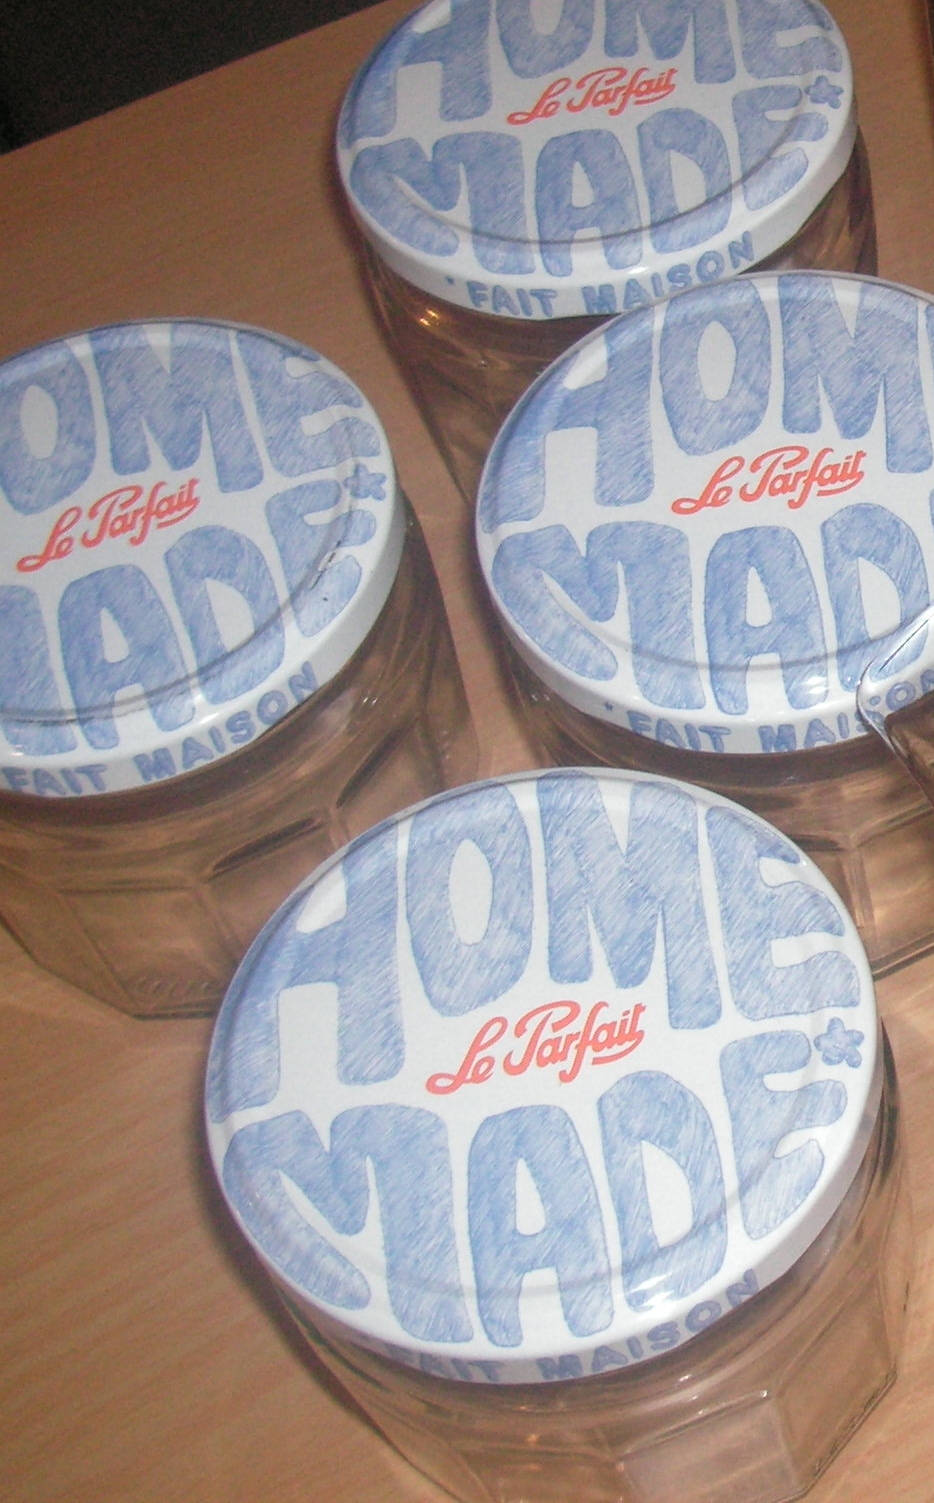
Lovely Le Parfait 340ml jars

  • 3 350ml preserving jars (I used slightly smaller ones, but love these Le Parfait ones which I picked up in Alsace Coop for only €6 for a pack of 6)
  • A large mixing bowl
  • Mixing spoon
  • Oven proof dish 
  • Silver foil
  • Grater
  • Citrus juicer
  • Zellglas (this is optional, but I cut this see-through film into circles, soaked it in some brandy then laid it on the top of my mincemeat in the jar before sealing. It is supposed to keep the contents fresher and help with preserving)

Method

Put all of the ingredients in your large mixing bowl, except for the brandy, and stir it up really well, making sure the butter doesn't clump. Leave this mixture to soak over night. The next day, transfer the mix into your oven proof dish. Put some foil on the top and put it in the oven at 120C for 3 hours. When it comes out it will look like this:

Baked mincemeat - smells fabulous!
Give it a good stir and come back from time to time to stir again as it cools down. When it is cold add the brandy and stir. Take your sterilised jars (you can do this by washing them by hand then putting them in the oven at 180C for 5 minutes or if you have a dishwasher, put them on a 30 minute wash and then let them cool down) and spoon in the mincemeat, making sure to eliminate air bubbles by putting the spoon in and wiggling it around. When the jars are full, put the disc of Zellglas on the top and screw the lid tight. Pop them in the fridge or in a cool dark cupboard. They should keep for a decent length of time.

Ta da! Finished jars of mincemeat. Looking forward to making mincepies now.
Once I had made my mincemeat I sat down to finish my first Christmas card. What a successful festive day :)

Joyeux Noel!

Saturday 19 November 2011

Beetroot and Babuschka

I had a busy evening yesterday and feel proud of myself for not only successfully following Carluccio's beetroot bake recipe, but also finishing this Russian doll covered note book. Another homemade Christmas present ticked off my list!

Delicious, pink dinner!

Fabric covered notebook with ribbon-button embellishment

Personalised inside cover

Friday 18 November 2011

An afternoon of Art Nouveau

I dream of having one of these glass lamps in my home!

Art Nouveau , Jugendstil, Stile Liberty - whatever you want to call it, this is the one art movement that really delights me. My love affair with Art Nouveau started back in 1995 when I was working on my GCSE Art coursework. I went up to London to the V&A and was instantly amazed by the beautiful collection of Art Nouveau silver and pewter wear. I used this as inspiration for a clay mirror frame in an Art Nouveau style. Ever since then, Art Nouveau has been my one and only passion in life. I don't know why I love it so much, but just looking at a piece of Art Nouveau furniture, silver wear, jewellery or a painting, fills me with joy.


I think it is something about the sweeping lines and decorative elements, which at the same time are able to look simple, clean and beautiful. I also like the fact that Art Nouveau rarely uses expensive materials. I have always preferred silver to gold, and a piece of oak furniture with copper hinges and handles looks far more beautiful to me than a piece of ornately carved mahogany.

When I was flicking through one of my Art Nouveau books the other day, I was excited to discover that one of my favourite pieces by my favourite artist, Alphonse Mucha, is on display at the Badisches Landesmuseum in Karlsruhe (along with many other beautiful items). Luckily, that is only an hour's drive from where I live, so we popped over the border into Germany for the afternoon. 

"La Nature" by Alphonse Mucha, 1900.

There it is! The fabulous bronze bust, which is purported to be of Sarah Bernhardt. I had seen several photos of this work: "La Nature" in books, but never in the flesh, so to speak (and she does show quite a lot of flesh!). It really does look beautiful up close.


I love the flow of her hair and the head piece.

Apparently there are several versions of this sculpture. I like the petrol effect of her skin in this one.

I wasn't allowed to use flash in the museum, but I hope my photos will give you an impression of this fabulous work by Alphonse Mucha and maybe entice you to discover Art Nouveau for yourself.

I plan to have an Art Nouveau room in my home one day :)

Wednesday 9 November 2011

How to avoid craft blogging turning into blog crafting?

I started this blog last month as I felt that sharing the odd photo on Facebook with friends wasn't really the best way to talk about and display my crafted items. I wanted to share the things I make with the crafting community and also meet like-minded people online, pick up some tips and find inspiration for new projects.

So far, I feel I am getting all of those things, but I feel like the blogging is starting to interfere with the crafting. I feel like making something, but then realise I need to take photos if I want to do a tutorial or have some sort of story (it seems a bit dull just to post a picture of a finished item and say "ta-dah!"). My camera is not very good and the lighting in my apartment is terrible (especially with it getting dark so early now), so it takes forever to set the shot up and get it to look good. Once evening sets in, I don't feel like being creative and I also think that the photos would turn out really badly, so I end up putting my making off.

I didn't realise how much time blogging would take up. It's not just the blogging and photos either, its all the tweeting to try and generate interest (after all, what's the point of spending time blogging about all my lovely makes if nobody ever reads it?). I also want to make new contacts, so I spend time reading and commenting on other people's blogs. Nice as it is, all of this takes time away from the crafting.


I started another blog over 18 months ago when we moved from London to Strasbourg and was going to update everyone on our new life here in France and put up trials and tribulations with wondrous photos, but after just a few weeks I found I was too busy living it to blog about it. The travel blog now sits forlornly with only the start of a story and I can't pick the thread up again now, as too much time has gone by and way too many things have happened.


So how to strike a happy balance? How do I stay focused on the crafting and enjoy the sharing without the latter taking over? Answers on a postcard, please :)


Vintage clipart from the fabulous http://graphicsfairy.blogspot.com

Wednesday 2 November 2011

Party hair band

If you are looking for a stocking filler for a young girl, or something for your little princess to wear in her hair during the Christmas party season, here is a quick, cheap and easy crafty make for you!


All you need is:
  • a plain elasticated hair band
  • some pieces of ribbon about 15cm long (if they are recycled then so much the better!)
  • a pearl or large bead
  • 2 beads with large holes through the center (I used two plastic, glittery star shaped beads)
  • a short length of thread
  • a small piece of felt
  • a pair of scissors
  • hot glue gun or strong glue
How to make the party hair band:
  1. Take the lengths of ribbon and bunch them together with the pieces lying at different angles, crossing in the centre. 
  2. Use one length of ribbon to tie a knot around the middle of your bunch to secure in place. Leave the ends of this ribbon long and use them to then tie the bundle of ribbons to the hair band. Cut the ends or incorporate them into the ribbon bundle if you prefer.
  3. Thread the beads with large centre holes onto the ends of a couple of the ribbons and knot above the bead to secure into place.
  4. Thread the pearl or large bead onto some thread and tie it around the ribbon bundle and hair band so that it sits in the centre of the ribbon bundle. Knot it securely in place at the back.
  5. Cut a small piece of felt into a rectangle, round the ends using scissors and then pinching the ribbon bundle to push the ribbon ends upwards and inwards to surround the pearl, glue the felt in place on the back of the bundle of ribbons. This will cover the thread and knots and secure the decorative part to the hair band (see photos below).


Voilà! A pretty hair decoration for any discerning young lady ;)


I made this as a small gift for my 11 year old niece for Christmas. All the ribbons are from my ribbon store, collected from boxes of chocolates, clothing tags etc. You could make it more festive by using red, green and gold ribbons and adding small bells or choose ribbons that match a party outfit. I would love to see your creations if you decide to have a go!